Solutions · Posture & Equipment
Solutions: From Posture Correction to Equipment Intervention
Ergonomic problems = posture problems + equipment problems. "Watching your posture" alone will not last a day — the real solution is to let equipment hold the posture for you.
The Reasoning First
Why "Watching Your Posture" Will Not Last a Day
The occupational health problem of dentists breaks down into two compounding issues: posture problems — prolonged head-down, bending, and shoulder shrugging; and equipment problems — the naked eye cannot see the operative field clearly, so you must move closer, and moving closer forces the head down. The two reinforce each other, and the load ends up on the neck, shoulders, and lower back.
Most people's first reaction is "I'll watch my posture from now on." But that path does not work: holding an upright posture requires muscles to fight gravity continuously, and muscles fatigue — you sit straight in the morning, and by three in the afternoon the posture has collapsed. This is not a matter of willpower; it is physiology.
The effective approach works the other way around: first eliminate the physical triggers that force you to bend and lean, then let equipment hold the posture for you, and finally give muscles the chance to recover through habits. This page unfolds in three layers, from zero-cost to worth the investment.
01 · Layer 1
Zero-Cost Adjustments
Sitting posture, dental chair and practitioner stool, workstation layout. Change them today, at no cost — start here.
02 · Layer 2
Equipment Intervention
Loupes, ergonomic seating, headlamps. Physically removing the main triggers of poor posture — the most critical step.
03 · Layer 3
Habits & Recovery
Work-breaks, four-handed dentistry, stretching. Give muscles the chance to recover so the gains of the first two layers last.
Layer 1 · Zero-Cost Adjustments
Correct Seated Working Posture
For dental practitioners, correct sitting posture during treatment is critical for preventing musculoskeletal disorders.
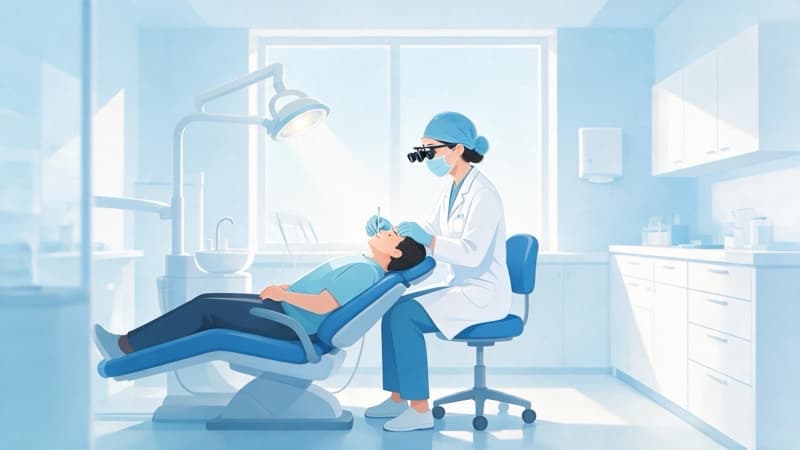

Correct Posture
- Keep your back straight with the lower back firmly against the chair back, using lumbar support
- Place both feet flat on the floor, with knees at a 90°-100° angle
- Keep upper arms hanging naturally and close to the torso, with abduction under 20°
- Keep the head in a neutral position, with the line of sight perpendicular to the treatment area
- Relax and lower the shoulders; avoid shrugging
- Position hand work at elbow level or slightly below
Common Mistakes
- Hunching the back or leaning excessively forward
- Excessive forward protrusion or twisting of the neck
- Shrugged shoulders with arms operating unsupported in the air
- Crossed legs or a single foot dangling
- Excessive wrist flexion or twisting
- Holding the same posture for extended periods
Layer 1 · Zero-Cost Adjustments
Adjustment Essentials for Four Types of Equipment
Get the chairs right and half the posture battle is won. Expand each category for its adjustment checklist.
Dental Chair Adjustment
Proper adjustment of the patient dental chair directly affects the practitioner's working posture
Dental Chair Adjustment
Proper adjustment of the patient dental chair directly affects the practitioner's working posture
- For maxillary treatment, place the patient in a supine position (chair back nearly horizontal); for mandibular treatment, a semi-supine position (chair back raised about 30°-45°) is appropriate
- Adjust the patient's head height to the practitioner's elbow level
- Ensure the patient's head and the practitioner's operating area are in the same vertical plane
- Use a headrest to stabilize the patient's head and reduce arm movement
- For maxillary treatment, tilt the patient's head slightly back; for mandibular treatment, slightly forward
Practitioner Stool Adjustment
Ergonomic setup of the practitioner stool
Practitioner Stool Adjustment
Ergonomic setup of the practitioner stool
- Adjust seat height so the thighs are parallel to the floor
- Use a stool with lumbar support, or add a lumbar cushion
- The stool should have good armrests to support the weight of the arms
- The stool should swivel 360° for easy position changes
- Consider a saddle stool or dynamic seat to increase mobility
Lighting Adjustment
Proper lighting reduces visual fatigue and the need for neck posture adjustments
Lighting Adjustment
Proper lighting reduces visual fatigue and the need for neck posture adjustments
- Use an operating light to ensure light falls directly on the operating field
- Avoid strong light shining directly into the eyes; use anti-glare measures
- Maintain adequate ambient lighting to avoid strong light-dark contrast
- Adjust the light position to reduce head-down postures caused by poor visibility
- Check lighting fixtures regularly to ensure sufficient, even illumination
Instrument Grip
A correct instrument grip reduces hand fatigue
Instrument Grip
A correct instrument grip reduces hand fatigue
- Hold instruments with a modified pen grasp
- Instrument handles should have an adequate diameter (8-10mm recommended) for a comfortable grip
- Use lightweight instruments to reduce hand load
- Use loupes or a microscope to reduce forward-leaning posture
- Replace instruments regularly and avoid repeating the same motion for long periods
Layer 1 · Zero-Cost Adjustments
The Four-Zone Workstation Layout
Instruments and equipment each in their place, reducing unnecessary twisting and reaching during procedures.
01
Core Operating Zone
The practitioner's direct working area — place the most frequently used instruments and materials here
02
Assistant Zone
The assistant's working area — where instruments are passed during four-handed dentistry
03
Equipment Support Zone
Area for auxiliary equipment, allowing quick adjustments during procedures
04
Material Storage Zone
Storage for frequently used materials, within easy reach
Layer 2 · Equipment Intervention
Let Equipment Hold the Posture for You
Posture correction relies on willpower, and willpower fatigues. Equipment intervention does not — it physically makes poor posture hard to happen. This layer is the key intervention at the level of physical conditions.

Core · Vision Aid
Loupes: The Core Device That "Enforces" a Correct Posture by Optical Design
Other devices "help" you keep your posture; loupes "make" you keep it.
To see millimeter-level detail with the naked eye, you have to move in to 20–30 cm — at that distance, leaning the head forward is a physical necessity. Loupes lock a clear field of view at a working distance of 35–55 cm: you cannot move closer even if you try — bend down and the field instantly blurs out of focus. The trigger for bending and leaning is eliminated by optical design.
Prismatic (deflection) barrels further reduce the head-down angle, letting the line of sight drop naturally while the head stays neutral.
- Reduces forward-leaning posture
- Reduces neck strain
- Improves operating precision
- Reduces eye fatigue
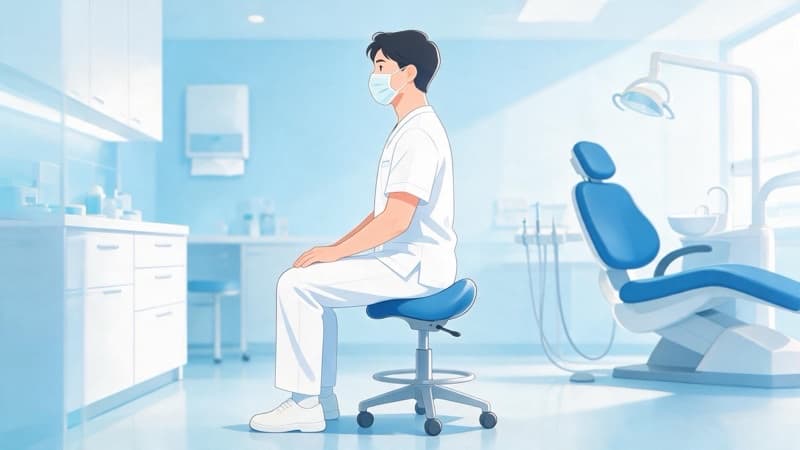
Saddle Stool
SeatingErgonomically designed saddle stool that promotes a natural spinal curve
- Promotes anterior pelvic tilt to maintain natural lumbar curvature
- Reduces lower-back pressure
- Supports sit-stand alternation
- Increases hip mobility
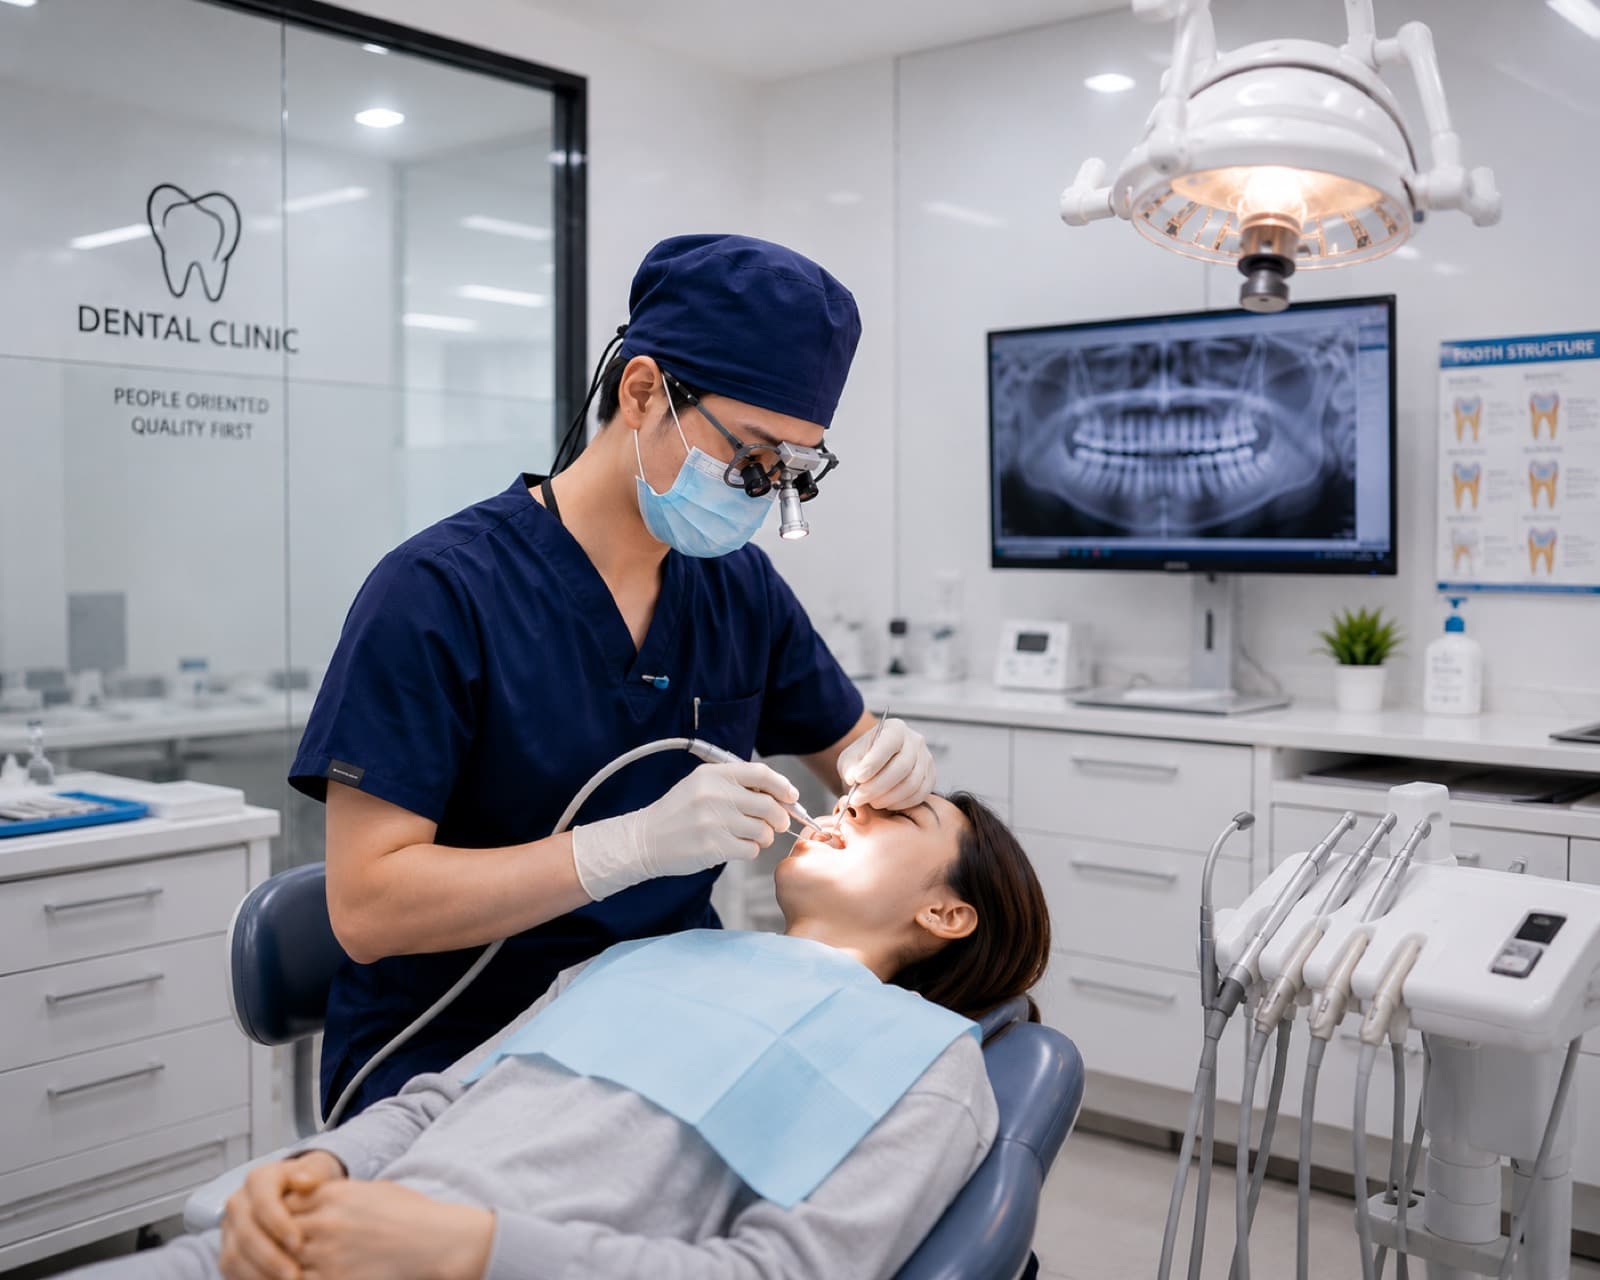
Headlight Illumination
LightingA dim operative field is the other driver of "moving in to see": when you cannot see clearly, the head drops involuntarily. A headlight keeps the light spot coaxial with your line of sight — light falls where you are looking, so there is no need to lean in.
- The light spot follows your line of sight — no more tilting your head to find light
- Removes the "can't see, so lean in" trigger
- Pairs with loupes to solve vision and illumination together
Dental Microscope
Advanced OptionHigh-magnification dental microscope supporting an upright operating posture — the most complete equipment solution to posture problems, but with a higher price and learning curve; best as an advanced option.
- Fully upright operation
- Excellent magnification
- Reduces neck and back strain
- Improves treatment quality
Layer 3 · Habits & Recovery
Give Muscles the Chance to Recover
Work-breaks are a data-verified protective factor (OR 0.40–0.57; below 1 means protective). Beyond equipment, habits carry most of the remaining risk weight.
Work-Break Plan
Scheduling work-breaks scientifically is one of the most effective ways to reduce MSD risk
- 1Take a 5-10 minute break for every 45-60 minutes of work
- 2Schedule at least 1-2 formal work-breaks per day
- 3Do simple neck, shoulder, and lower-back stretches during breaks
- 4Leave the operating area during breaks; change posture and move around
- 5Use gaps between patients for micro-breaks of 30-60 seconds
More than 2 work-breaks per day: 60% lower risk at any site; 54% lower neck risk (OR 0.40 (any site) / 0.46 (neck)).
Four-Handed Dentistry
Assistant-assisted four-handed dentistry significantly reduces lower-back load on the practitioner
- 1The assistant sits opposite the practitioner, with the seat about 10-15cm higher
- 2The assistant handles suction, lighting adjustment, and instrument transfer
- 3The practitioner focuses on core procedures, reducing unnecessary body movement
- 4Conduct regular four-handed dentistry training to improve coordination
- 5Establish standardized operating procedures and instrument-transfer protocols
The data: Dentists working without an assistant have 1.80× the lower-back MSD risk of those with an assistant.
Workplace Exercise & Stretching
Targeted stretching and exercise relieve muscle tension and prevent MSDs
- 1Neck stretches: slowly extend the neck in each direction (flexion, extension, lateral flexion), holding 10-15 seconds per direction; avoid rapid circling
- 2Shoulder movements: shoulder shrugs and rolls to relax the shoulder muscles
- 3Lower-back stretches: stand with hands on hips and slowly bend backward and sideways
- 4Wrist movements: rotate the wrists; make fists and stretch the fingers
- 5Do 10-15 minutes of full-body warm-up and cool-down before and after work each day
Stretching is not optional relaxation — it is essential maintenance for fatigued muscles, doable during work breaks with no equipment.
How ACUVIEW Solves This Problem
See Closer Without Bending Lower
To see millimeter-level detail with the naked eye, you have to move in to 20–30 cm — at that distance, leaning the head forward is a physical necessity. Through optical magnification, loupes extend the effective working distance to 35–55 cm: you can operate sitting upright, with the neck back in a neutral position. Prismatic barrels further reduce the head-down angle.
ACUVIEW loupes are customized to your interpupillary distance and working distance. Request a quote and our consultant will configure the right setup for your posture.
Bring the Solution into Tomorrow's Operatory
ACUVIEW loupes are customized to your interpupillary distance and working distance — request a quote and feel the difference in your next procedure.